- Hide menu

Blog

Use Cloudflare to Block Brute Force Login Attacks


The excellent Limit Login Attempts wordpress plugin will detect failed logins and put up its armoury of defences. Nothing showed its usefulness than seeing the number of attempts it detected. However, the plugin still requires WordPress to handle the failed attempt and only login attempts via http and https are handled. XML-RPC attacks and Bot-related attacks need another solution.

For my setup, I only need admin login to WordPress from one IP address. This is where Cloudflare’s content distribution network and it’s Web Application Firewall can provide excellent protection.

The WAF is extremely easy to setup and all you need to do is add the IP addresses that you want to allow into a rule that will block access except for the addresses you have specified (see screenshot).

This will block not only brute force login attempts but also XML-RPC and related attacks from even reaching the wordpress server.

Lightroom Tip: Review and Select Photos in Library and NOT Develop mode

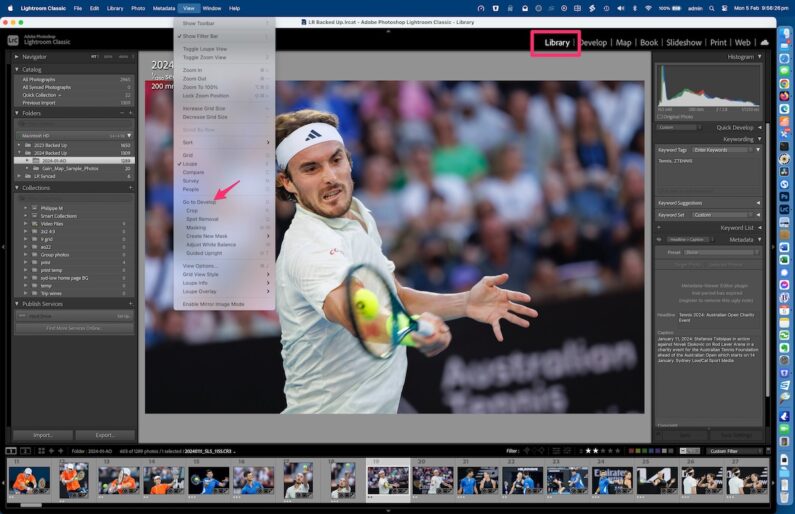
I’ve been using Lightroom from the very first version and I’ve now just realised I’ve been reviewing and selecting my images in the wrong mode. Like many, I thought that if I created Standard and 1:1 Previews it would speed up Lightroom in scrolling from image to image. But LR was still excruciating slow in some situations, eg when an image has lots of complex adjustments, scrolling from or to that image would just bog LR down to a crawl. Especially if there were a sequence of images with heavy adjustments.

It turns out that for simply scrolling and selecting images, make sure you’re in the Library module and NOT the Develop module. In Library, LR will use the image’s standard preview and scrolling is lightning fast. You can make sure you’re in that mode with the keyboard shortcut “E”. It’s an extra key stroke but the difference is night and day. So after editing an image in the Develop module, hit the E key before scrolling to the next images if all you want to do is review.

Fix for iOS and iPadOS apps bypassing AdGuard Home using DoH

When Apple allowed apps to specify their own encrypted DNS server, this was a convenient way for apps to avoid ad-blocking DNS servers. I got tired of the Gmail app on iOS and iPadOS bypassing my AdGuard Home DNS server, just like it can bypass similar blocking services like PiHole. Another example is Safari browser on iPadOS and iOS in Privacy mode will bypass your DNS servers and use an Apple specified DNS over HTTP server. If you use a standard (ie unencrypted) DNS server, this will be bypassed.

It turns out it’s relatively easy to stop this from happening.

You need to specifiy a DNS over HTTPS (DoH) server via a configuration profile as this will override any specific DoH server that has been done in an app. Since AdGuard Home can serve as a DoH server, all you have to do is turn on this feature and install a configuration profile that points to it.

The steps are:

  1. Turn on Encryption settings in AdGuard Home (see screenshot above)
  2. Use your preferred method of getting a SSL certificate for your AdGuard Home server. LetsEncrypt is the most common method
  3. You’ll probably want add a rewrite rule to point the name of you DoH server to an internal IP address
  4. Download iMazing, the excellent and free Configuration Profile tool
  5. Make a profile with a DNS Setting payload (see screenshot below)
  6. Save and install the profile on your i-Device

No more AdGuard bypass by apps!

Amex PDF statements missing fonts

Around November 2023, American Express Australia changed the format of the PDF statements by not embedding the font. This made rendering of the page virtually unreadable on macOS. Inspecting the PDF shows that it uses two fonts from the Bento Sans family.

To make the pages render properly, the fonts can be downloaded from sites like https://fontsgeek.com/tagged/styles/bentonsans

After installing the fonts, restart your PDF reader and all should be good.

How to download 200GB of photos off iCloud

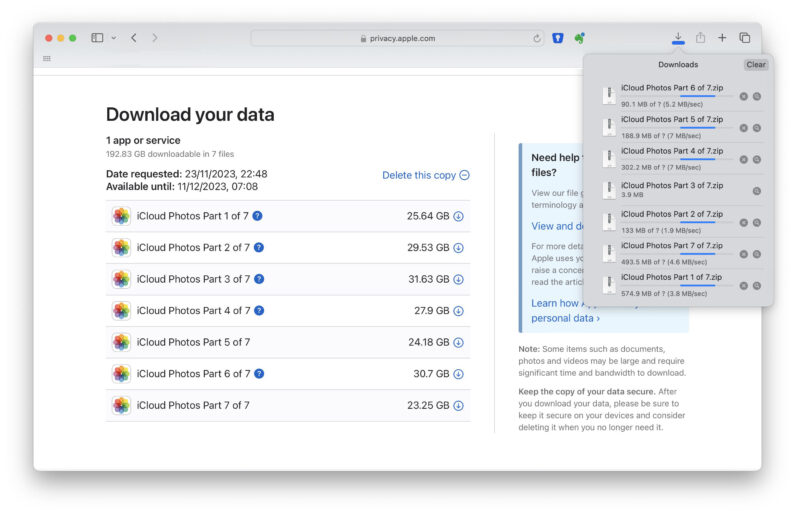
Apple doesn’t make this easy. When your iCloud storage is full and you want to download 200GB of photos to free up space, one of the options, and arguably the most reliable, is to request Apple to compile the data via a request at privacy.apple.com. You can read about the issue with other methods in this recent Reddit post. Apple will email you when the compilation is ready. Here is a screenshot of a request to download almost 200GB of photos with a maximum size of 25GB per part.

Note that the 25GB size is a pretty loose limit with 5 of the parts exceeding the limit. More importantly, requesting concurrent downloads yields unreliable results. Make sure you monitor the expected size of each part as the download may silently terminate early like part 3 which failed at 3.9MB instead of 31GB. You’ll also note that the download speed seems to be capped at around 7MB/s at the sending server’s end. These downloads were on a Gigabit Internet connection.

But if you persevere, the downloads will all complete and you’ll be able to download your files from iCloud.

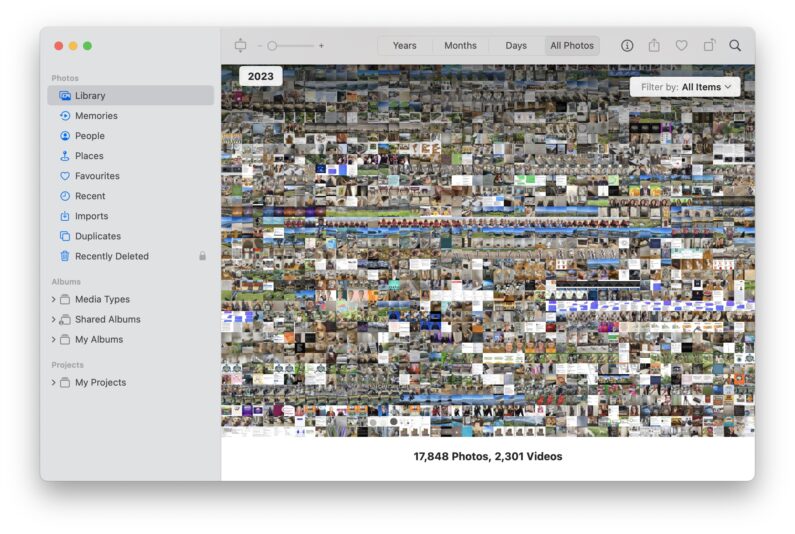
After all the parts have been downloaded, unzip the file and you’ll find a Photos folder in each part. I suggest you create a new album in the Apple Photos app and import all the files into Photos. This is a convenient way to review your photos archive library. All the media types like Live Photos, Videos, Portraits seem to work with the import. As does People and Pets.